ISO 22632:2019 pdf download – Adhesives — Test methods for adhesives for floor and wall coverings — Shear test.
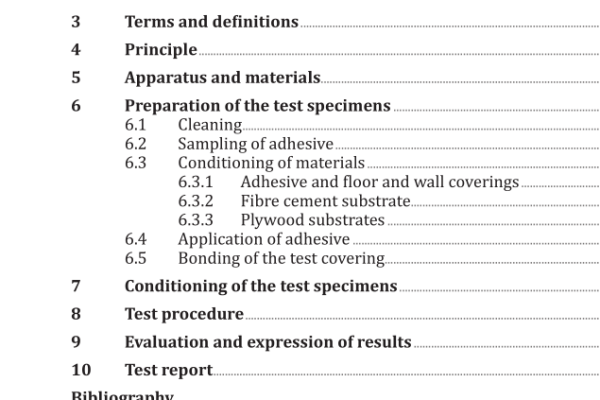
5.7.2 Plywood substrate, one uncoated plywood panel for each test piece. Five plywood panels for each conditioning sequence with a length of approximately 60 mm and a thickness of approximately 5,0 mm. The width is (50 ± 0,5) mm. NOTE Length and thickness are not critical. 6 Preparation of the test specimens 6.1 Cleaning Ensure that all test coverings and substrate materials are clean and free from dust, loose particles or other contamination. 6.2 Sampling of adhesive Take a sample in accordance with ISO 15605 of the adhesive to be tested and examine and prepare it in accordance with EN 1067. 6.3 Conditioning of materials 6.3.1 Adhesive and floor and wall coverings Condition the materials at a standard atmosphere of (23 ± 2) °C and (50 ± 5) % relative humidity in accordance with ISO 554 for at least 24 h prior to use. 6.3.2 Fibre cement substrate Place the test panels (5.7.1) in a heating chamber (5.3) for 6 h at (80 ± 2) °C. Ensure that the test panels are spaced in such a way as to enable a free passage of air over them. At the end of this period, remove the test panels from the heating chamber and store for 48 h in a standard atmosphere of (23 ± 2) °C and (50 ± 5) % relative humidity prior to use. 6.3.3 Plywood substrates Condition the materials at a standard atmosphere of (23 ± 2) °C and (50 ± 5) % relative humidity in accordance with ISO 554 for at least 24 h prior to use. 6.4 Application of adhesive Place masking tape across one end of the upper side of each substrate leaving a 20 mm length to be coated with adhesive. Apply the adhesive under test across the full width of the substrate using a notched trowel (5.1), held at an angle of approximately 60°, steadily down the length of the substrate to provide a uniform adhesive application. Remove the masking tape when the adhesive has been applied. When applying the adhesive, it is essential that the serrated blade is kept clean and free of adhesive build- up. Clean the blade regularly (no more than five substrates to be prepared without cleaning). In addition, regularly check the notch size and depth, especially where non-hardened steel blades are in use.
Immediately after positioning the test covering, roll the test specimen with a roller (5.2) by passing forward and backward once along the test specimen without any additional pressure being applied. As the adhesive has not yet set it should be ensured that the overlapping area remains 20 mm × 50 mm without any shift during the subsequent treatments of the test coverings. Before applying the roller, it is advisable to support the unbonded area of the test covering by an additional panel of the same thickness in order to avoid tilting. To prevent the test covering from slipping caused by the roller, an appropriate frame or mould for the substrate sheets in combination with range spacers can be used for the covering. For coverings which show a tendency to curl after rolling, a dead load of (2,0 ± 0,1) kg mass can be applied for (3,0 ± 0,5) h. The load is spread evenly over the whole surface thus ensuring a contact over the total bonded area of each test specimen. The procedure applied should be recorded in the test report [see Clause 10 i)].
ISO 22632:2019 pdf download – Adhesives — Test methods for adhesives for floor and wall coverings — Shear test
