ISO 13919-2:2021 pdf download – Electron and laser-beam welded joints — Requirements and recommendations on quality levels for imperfections — Aluminium, magnesium and their alloys and pure copper.
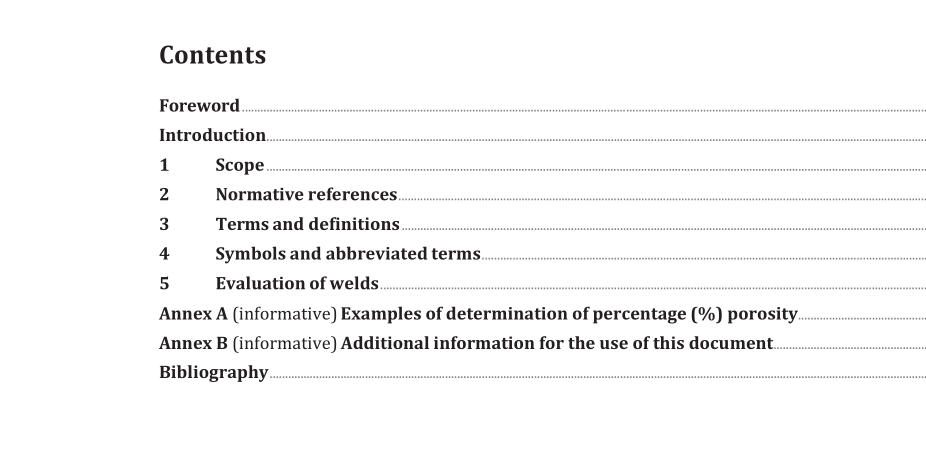
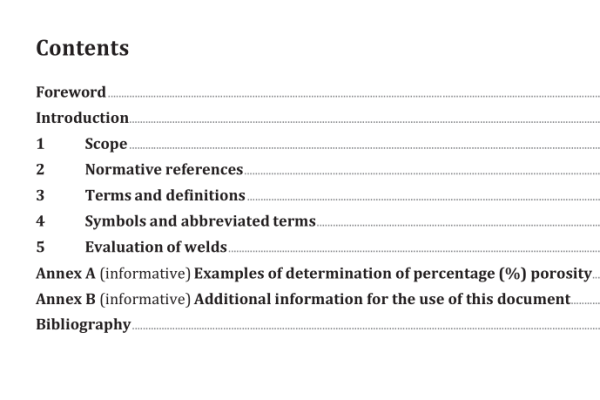
1 Scope This document gives guidance on levels of imperfections in electron and laser beam welded joints in aluminium, magnesium and their alloys and pure copper. Three levels are given in such a way as to permit application for a wide range of welded fabrications. The levels refer to production quality and not to the fitness-for-purpose of the product manufactured. This document applies to electron and laser beam welding of: — aluminium and its alloys; — magnesium and its alloys; — pure copper (e.g. Cu-ETP1 CW003A, Cu-ETP CW004A, Cu-FRHC CW005A, Cu-FRTP CW006A, Cu-OF1 CW007A, Cu-OF CW008A, Cu-OFE CW009A, Cu-PHC CW020A, Cu-HCP CW021A, Cu-PHCE CW022A, Cu-DLP CW023A, Cu-DHP CW024A); — all types of welds welded with or without additional filler wire; — materials equal to or above 0,5 mm thickness for electron and laser beam welding. When significant deviations from the joint geometries and dimensions stated in this document are present in the welded product, it is necessary to evaluate to what extent the provisions of this document can apply. NOTE For circular welds, a lower quality level can be specified for the fade-out zone. Metallurgical aspects, e.g. grain size, hardness, hydrogen embrittlement (pure copper) are not covered by this document. This document is directly applicable to visual examination of welds and does not include details of recommended methods of detection or sizing by other non-destructive means. There are difficulties in using these limits to establish appropriate criteria applicable to non-destructive testing methods, such as ultrasonic, radiographic and penetrant testing, and they can need to be supplemented by requirements for inspection, examination and testing. 2 Normative references The following documents are referred to in the text in such a way that some or all of their content constitutes requirements of this document. For dated references, only the edition cited applies. For undated references, the latest edition of the referenced document (including any amendments) applies. ISO 10042, Welding — Arc-welded joints in aluminium and its alloys — Quality levels for imperfections
5 Evaluation of welds Limits for imperfections are given in Table 1. These limits apply to the finished weld and may also be applied to an intermediate stage of fabrication. If a method other than macro examination is used for the detection of imperfections, only those imperfections which can be detected with a maximum magnification of tenfold shall be considered. Cracks (see Table 1, No 1.1, No 1.2, No 2.1 and No. 2.2) and micro lack of fusion (see Table 1, No 1.5 and No 2.7) are excluded. A welded joint should normally be evaluated separately for each individual type of imperfection. Any two adjacent imperfections separated by a distance lesser than the major dimension of the smaller imperfection shall be considered a single imperfection.
ISO 13919-2:2021 pdf download – Electron and laser-beam welded joints — Requirements and recommendations on quality levels for imperfections — Aluminium, magnesium and their alloys and pure copper
